How to Use Admin Settings in the ZFour HRMS Admin Portal
Every HR system has a backbone, and in ZFour HRMS that backbone is called Admin Settings. This is the place where you define your organisation’s structure, rules, working hours, leave policies, and system behaviour.
You can think of Admin Settings as setting up your digital office before employees start working inside it.
If you are opening the Admin Settings for the first time, there is no need to feel confused. The system is designed in a simple and user-friendly way so that even a first-time user can configure everything without technical knowledge.
In this guide, we will go step by step and understand how to use Admin Settings in the ZFour HRMS Admin Portal in a calm and clear way.
What Are Admin Settings in ZFour HRMS?
Admin Settings work like the control room of the HRMS system. From here, you decide how your company will operate inside the software.
Once these settings are configured correctly, attendance, leave, payroll, and approvals work automatically without manual correction.
Inside Admin Settings, you can define:
- Employee departments and job roles
- Working hours and shift timing
- Attendance calculation rules
- Leave policies and holidays
- Email notifications and alerts
- Company details and branding
When all these settings are configured properly, the system runs smoothly and saves a lot of time for HR and Admin users.
Step-by-Step Guide to Using Admin Settings
Let’s go through the process step by step so that you can understand how to configure everything correctly.
Step 1: Log in to the Admin Portal
First, open your ZFour HRMS login link in the browser.Enter your username and password, then click on the Login button.
After login, you will reach the dashboard where all modules are visible. This is your main control panel.
Take a moment to look around—from here you can access every feature of the system.
Step 2: Open the Admin Section
On the left side of the screen, you will see the main menu. Click on the option called Admin.
This section contains all company-level configurations such as departments, shifts, leave rules, and system settings.
Opening this section is the first step toward setting up your HRMS properly.
Step 3: Click on Admin Settings.
Inside the Admin section, look for an option called:
- Admin Settings
- System Settings
- Settings
The name may change depending on your version, but the purpose is the same.
Click on this option to open the configuration panel where you will define all company rules.
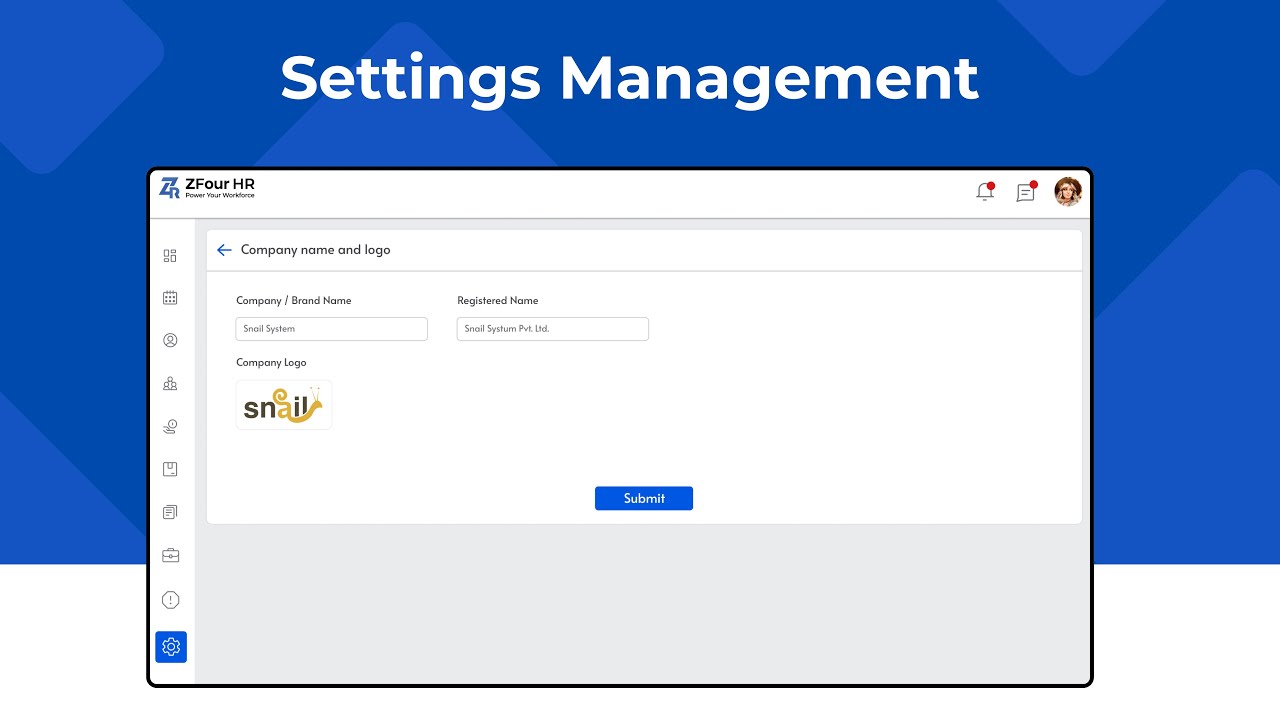
Step 4: Enter Company Details
Start by updating your company information. This helps the system display correct details in reports, emails, and employee dashboards.
Fill in the following information:
- Company name
- Office address
- Company logo
- Official email ID
- Contact number
Adding these details makes your HRMS look professional and personalised for your organisation.
Step 5: Create Departments
Next, open the Departments section.
Here you should add all departments that exist in your company. For example:
- Human Resources
- Sales
- Marketing
- Finance
- Admin
- Customer Support
- IT Department
Departments help the system organise employees correctly and make reports easier to understand.
It is recommended to create departments before adding employees.
Step 6: Add Designations
After creating departments, go to Designations.
Designations define the job titles of employees and help the system understand the company hierarchy.
Examples of designations:
- Executive
- Manager
- Team Leader
- HR Executive
- Senior Manager
- Director
Correct designations make approvals, reporting, and employee structure easier to manage.
Step 7: Configure Shift Settings
Now open the Shift Settings section.
Here you can define the working hours of employees.
You can set:
- Shift name (Morning, Day, Night, General Shift)
- Shift start time
- Shift end time
- Break duration
- Weekly off days
These settings tell the system when employees are expected to work.
Correct shift settings are very important for accurate attendance and payroll.
Step 8: Configure Attendance Rules
Attendance rules decide how the system calculates presence, late marks, and half days.
Inside Attendance Settings, you can define:
- Grace time for late entry
- Late mark rules
- Half-day rules
- Early leaving rules
- Overtime calculation
- Geo tracking (if enabled)
Once these rules are saved, the HRMS automatically calculates attendance without manual work.
This helps avoid mistakes and saves time.
Step 9: Set Leave Policies
Next, open the Leave Settings section.
Here you can create leave types and define how many leaves employees can use.
You can configure:
- Casual leave
- Sick leave
- Earned leave
- Paid leave
- Leave carry-forward
- Leave encashment
- Holiday list
After setting leave policies, employees will see their leave balance automatically in the portal.
This makes the system transparent and easy to use.
Step 10: Configure Notifications and Email Alerts
The last step is setting notifications.
Here you can decide:
- Who receives alerts
- When emails should be sent
- Which actions need approval messages
- Reminder notifications
These settings keep employees, managers, and HR informed automatically.
You do not need to send manual emails once notifications are configured.
Why Admin Settings Are Important
Admin Settings are very important because all other modules depend on them.
When Admin Settings are correct:
- Attendance is calculated properly
- Leave balance is accurate
- Payroll works without errors
- Shift timing is correct
- Approval flow becomes smooth
- Reports are accurate
If Admin Settings are wrong, the whole system may show incorrect data.
That is why it is always recommended to configure settings carefully.
Final Tip for New Users
If you are using the Admin Portal for the first time, do not rush. Complete each setting step by step.
It is better to spend a few extra minutes during setup than to fix errors later.
ZFour HRMS is designed to be simple, so once the setup is done, everything works automatically.
Start exploring admin settings today and build a smooth, organized, and stress-free HR experience for your company.
Log in here: https://www.zfour.in/quote